
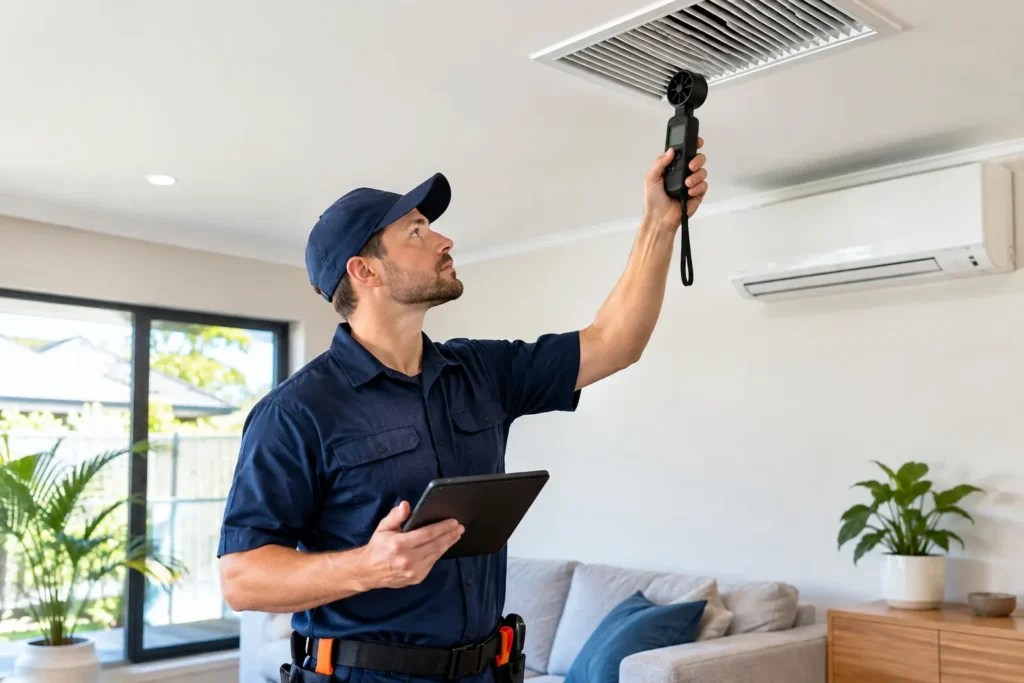
A lounge room that feels stuffy while the bedroom is freezing is not just an annoyance. It can point to restricted vents, a dirty filter, leaking ductwork or a system that is struggling to move conditioned air where it is needed. Knowing how to test home airflow gives you a practical way to spot issues early, before they lead to higher energy bills, excess dust, uneven temperatures and unnecessary strain on your heating or cooling system.
You do not need specialist instruments to notice a basic airflow problem. A few safe, simple checks can reveal whether the issue is isolated to one room or affecting the whole home. The key is to test methodically and know when a result calls for professional attention.
Start with a simple room-by-room airflow check
Turn on your ducted heating or cooling system and allow it to run for around 10 to 15 minutes. Choose a normal operating setting rather than running the system at an extreme temperature. Then walk through the home and compare the air coming from each supply vent.
Hold the back of your hand a short distance from each vent. You should feel a clear, consistent flow of warm or cool air, depending on the mode. Airflow will naturally vary slightly between rooms, particularly in larger homes or properties with long duct runs. However, one vent that produces barely any air compared with nearby rooms deserves investigation.
Make notes as you go. Look for rooms that are consistently warmer, colder, stuffier or dustier than the rest of the house. A weak vent paired with an uncomfortable room is more meaningful than a minor variation you only notice when standing directly underneath it.
Do not close most of your vents in an attempt to force more air into one room. Modern ducted systems are designed around a particular air volume. Closing too many outlets can raise pressure in the ductwork, increase noise and place extra stress on equipment.
How to test home airflow with the tissue test
A lightweight tissue is one of the easiest ways to compare airflow between vents. With the system operating, hold a single tissue loosely in front of each supply vent without pushing it inside the grille. A strong outlet should make the tissue move steadily away from the vent. A weak outlet may barely disturb it.
For return-air grilles, which draw air back into the system, hold the tissue near the grille instead. It should be gently pulled towards the return. Return vents are often larger than supply vents and are commonly located in hallways, ceilings or central living areas.
This test is not a precise measurement, but it is useful for comparison. Test similar vents in several rooms, ideally with doors open and windows closed. If one room produces a noticeably weaker result, repeat the test after checking that the vent is fully open and not covered by furniture, curtains, rugs or stored items.
Never use a candle, incense stick or any open flame to test air movement. Apart from the fire risk, smoke can leave residue and can be drawn into the system. A tissue is safer and gives you the information most households need.
Check airflow at more than one fan speed
If your controller has multiple fan speeds, test the vents on low and high settings. Airflow should increase noticeably at the higher setting. If it does not, the problem may be more than a partially closed vent. A clogged filter, blocked return path, dirty evaporator coil, damaged duct or fan issue can all limit performance.
Listen as well as feel. Whistling at one vent can indicate excessive pressure or a restricted opening. Rattling, banging or a rushing sound in the ceiling can suggest loose, crushed or disconnected ductwork. These sounds are not always urgent, but they are worth recording for a technician.
Inspect the easy-to-reach restrictions first
Before assuming the ducts need cleaning or repair, check the parts of the system you can safely access. Start with supply and return grilles. Dust, pet hair and lint can build up across the openings, especially around low wall vents and floor-level returns. Vacuum the grille gently using a soft brush attachment, taking care not to bend fins or push debris deeper into the duct.
Next, inspect the air filter if your system has a user-accessible one. A filter that is grey, visibly loaded with dust or clogged with pet hair can reduce airflow across the entire system. Follow the manufacturer’s instructions for cleaning or replacing it. The right interval depends on the filter type, how often the system runs, whether you have pets and local conditions such as bushfire smoke or nearby construction dust.
A blocked filter is a common cause of weak airflow, but it is not the only cause. If replacing or cleaning the filter makes little difference, do not keep increasing fan settings to compensate. That can conceal an underlying restriction while adding wear to the system.
Also look at the return-air grille. Return airflow is essential because your system cannot deliver air efficiently unless it can draw air back. Keep large furniture, laundry piles and storage clear of return vents. In homes with internal doors closed most of the time, restricted return paths can contribute to pressure differences and rooms that feel stale or uncomfortable.
Compare comfort, not just air at the vent
A vent can feel reasonably strong while the room remains uncomfortable. This is where airflow testing needs a little context. Heat gain through west-facing windows, poor insulation, gaps around doors, large open-plan spaces and high ceilings can all affect room temperature. Airflow may be adequate, but the room may require balancing, improved insulation or a different zoning approach.
Try this simple comparison: test a room at the vent, then stand in the centre of the room after the system has been running for 20 minutes. If the outlet has good flow but the room remains hot or cold, consider whether sun exposure, draughts or room layout is working against the system. If the vent is weak and the room is uncomfortable, restricted airflow becomes the more likely cause.
For property managers and commercial operators, repeat this check in occupied areas rather than relying only on complaints. Meeting rooms, classrooms, bedrooms and enclosed offices can develop poor comfort conditions long before a major system failure becomes obvious.
Signs your airflow issue may be inside the ductwork
Some problems cannot be confirmed from the grille alone. Ductwork may be damaged, poorly connected, crushed in the roof space or affected by dust buildup. Flexible ducts are particularly vulnerable to kinks, sagging and accidental damage from roof access or other trades.
Professional inspection is sensible if you notice several of these signs:
- Multiple vents have weak airflow despite a clean filter and fully open grilles.
- One section of the home is consistently underperforming.
- Dust returns quickly after cleaning, especially around vents and furniture.
- The system runs for long periods without reaching the set temperature.
- You can smell mustiness when the fan starts, or see visible debris around vents.
- Airflow has suddenly changed after renovation work, roof repairs or pest activity.
Duct cleaning can improve airflow where accumulated dust and debris are contributing to restriction. It is not a cure for every issue, though. A torn, disconnected or undersized duct needs repair or assessment, while a faulty fan, coil or zoning component may require an HVAC technician. A dependable service provider will identify the likely cause rather than promising one solution for every problem.
When to call a professional
Arrange a professional inspection when basic checks do not explain the issue, when indoor air quality concerns are present, or when the system shows signs of poor efficiency across several rooms. This is especially worthwhile for homes with pets, allergy sufferers, recent renovations, long periods without duct maintenance or visible dust around ceiling vents.
At Top Air Duct Cleaning, our Melbourne technicians use professional cleaning methods and HEPA filtration equipment to remove dust and debris from ducted heating and cooling systems. We can help identify whether dirty ducting is contributing to poor airflow and advise you clearly when another repair is likely to be needed. That straightforward approach protects both your indoor air quality and your budget.
A healthy system should move air quietly, consistently and cleanly through the rooms where people live and work. If your simple tests reveal weak vents, persistent dust or uneven comfort, act before the problem becomes part of your everyday routine. For a free quote or same-day service availability across Melbourne, call Top Air Duct Cleaning on 0457 666 469 or visit www.topairductcleaning.com.au.
