
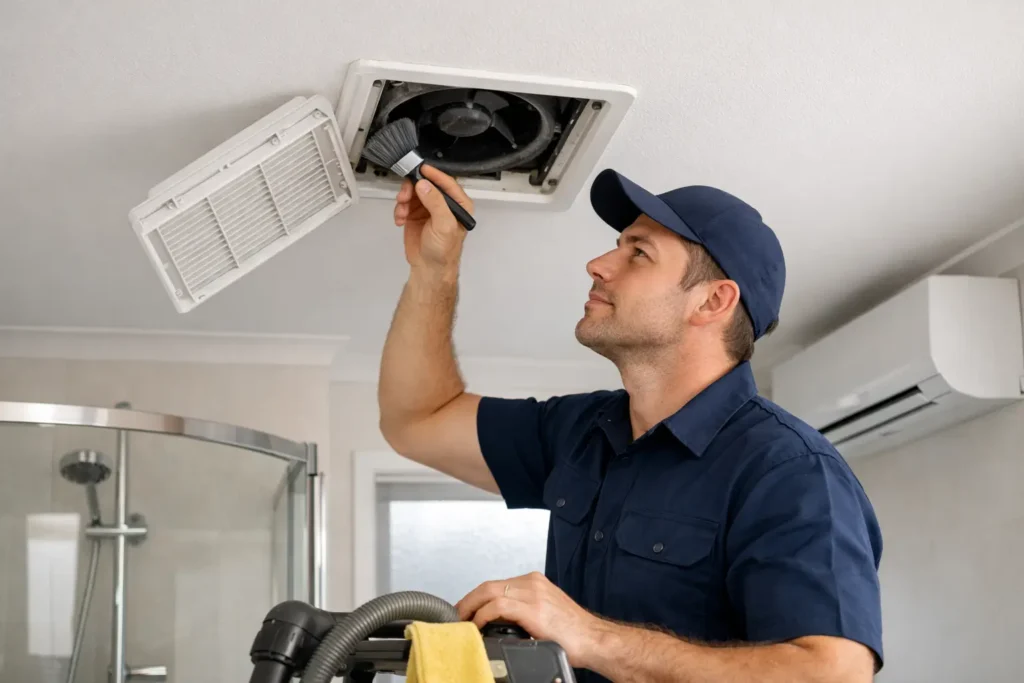
A bathroom fan that sounds louder than usual, takes ages to clear steam or leaves the mirror dripping after every shower is not doing its job properly. Cleaning bathroom exhaust fans is a straightforward maintenance task in many homes, but it needs to be done safely and thoroughly. The grille is only the visible part of the system. Dust can also build up around the motor, blades and duct connection, restricting the airflow your bathroom relies on to control moisture.
Why a clean exhaust fan matters
Bathrooms produce a surprising amount of humid air. Without effective extraction, that moisture settles on ceilings, walls, windows and grout. Over time, it can contribute to peeling paint, musty odours, mould growth and damage to cabinetry or plasterboard.
A layer of lint-like dust on the grille may look harmless, yet it can narrow the openings that draw air into the fan. Dust on the blades can also make the unit less efficient and noisier. In a ducted system, debris may travel beyond the fan housing and gather inside the ductwork or at the external vent.
Regular cleaning supports better airflow, but it will not fix every ventilation problem. A fan may still underperform because it is too small for the room, the duct run is too long, the external vent is blocked, or the motor is worn. This is why the results after cleaning matter. If steam still hangs in the room well after a shower, further inspection is sensible.
When should you clean a bathroom exhaust fan?
For most households, cleaning the grille and accessible fan area every six months is a practical baseline. Homes with frequent showers, pets, smokers, nearby construction dust or family members with allergies may benefit from checking it every three to four months.
Property managers and commercial facilities should include exhaust fans in a documented preventative maintenance schedule. Shared bathrooms, gyms, salons, childcare centres and staff amenities face heavier use, and moisture-related issues can quickly become a hygiene and building-maintenance concern.
There are a few clear signs that the fan needs attention: visible dust around the grille, reduced suction, a rattling sound, a persistent bathroom odour, condensation that remains after use, or mould returning despite regular cleaning. Treat a burning smell, sparks or a fan that trips a circuit breaker as an electrical fault, not a cleaning job. Switch it off and arrange professional help.
Cleaning bathroom exhaust fans safely at home
Start by turning the fan off at the isolation switch if one is fitted. For the safest approach, turn off the relevant circuit at the switchboard and confirm the fan cannot operate. Never rely only on the wall switch, especially where moisture and electricity are involved.
Place a towel or drop sheet below the fan to catch dust, then use a stable step ladder. Do not stand on a chair, vanity or toilet. Most grilles pull down gently and are held in place by spring clips. Support the grille as you remove it, squeeze the clips together and lower it carefully.
Wash a plastic grille in warm water with a mild dishwashing liquid. A soft brush can remove stubborn dust from the slots. Let it dry completely before reinstalling it. If the cover is painted metal, brittle plastic or has electrical components attached, wipe it with a lightly damp microfibre cloth instead of soaking it.
With the power still isolated, use a vacuum cleaner with a brush attachment to remove loose dust from the accessible housing and around the blades. Work gently. Fan blades, wiring and mounting brackets can be damaged if forced or bent. A small soft paintbrush can help loosen dust while you vacuum, but avoid spraying cleaner, water or fragrance products into the fan housing.
Once the grille is dry, refit it securely, restore power and test the fan. It should start smoothly and extract air without excessive vibration. A simple test is to hold a single sheet of toilet paper near the grille while the fan runs. It should be drawn towards the intake, although this is only a basic indication of suction rather than a full airflow test.
What not to do
The most common mistake is cleaning only the cover and assuming the ventilation system is clear. A sparkling grille can still sit in front of dust-coated blades or a restricted duct. Another mistake is using compressed air, which often blasts debris deeper into the housing, ceiling cavity or ductwork.
Avoid pulling apart motors, disconnecting wiring or reaching beyond what you can clearly see and safely access. Ceiling spaces may contain insulation, loose electrical cables and restricted ducting. Older homes can also have fragile fittings that crack when handled roughly.
Bleach and strong chemical sprays are not appropriate for routine fan cleaning. They can damage finishes, create fumes and do little to remove the compacted dust that affects performance. If mould is visible around the ceiling vent, clean the surrounding surface using a suitable mould treatment and investigate the moisture source rather than simply covering the stain.
The difference between fan cleaning and duct cleaning
An exhaust fan has several parts: the grille, motor and blades, housing, ducting and external outlet. DIY cleaning generally reaches the first few components. It is useful maintenance, but it does not clean the full length of a concealed duct or confirm that air is reaching the outside as intended.
This distinction matters in Melbourne homes where long duct runs, roof-space dust, poorly fitted flexible ducting or blocked external vents can reduce extraction. In some properties, the duct may have become disconnected or crushed in the ceiling cavity. The fan can sound as if it is operating normally while moist air is being released into the roof space instead of outside.
Professional exhaust fan cleaning can include a closer inspection of the system, specialist vacuum equipment to remove built-up debris and assessment of airflow restrictions. Where required, technicians can identify damaged ducting, blocked outlets and fan components that need repair or replacement. For commercial bathrooms, a professional service is especially valuable where access, safety procedures and maintenance records are required.
Getting better moisture control after cleaning
A clean fan works best when it is used correctly. Turn it on before showering and leave it running for at least 15 to 20 minutes afterwards. If your fan is connected to the light and switches off immediately when the light goes out, consider whether a timer, separate switch or humidity-sensing control would better suit the room.
Keep the bathroom door slightly open after use if privacy and household conditions allow, and wipe excess water from shower screens and tiles. These small habits reduce the moisture load the fan needs to remove. They are not a substitute for effective extraction, particularly in windowless bathrooms.
If condensation, mould or stale odours continue after you have cleaned the fan, do not keep repeating the same surface clean. The issue may be inadequate airflow, duct contamination, a blocked external vent or a poorly sized unit. Addressing the cause protects the bathroom finishes and helps maintain healthier indoor air.
When to call a professional
Book a professional inspection when the fan is unusually noisy, barely draws air, has not been cleaned for years, vents into an unknown location or is difficult to access safely. It is also the right choice for strata properties, rental portfolios, schools and commercial sites where reliable ventilation affects multiple occupants.
Top Air Duct Cleaning provides dependable exhaust fan and duct cleaning across Melbourne and surrounding suburbs, using professional techniques designed to remove dust and support cleaner, more effective airflow. For a free quote or same-day availability where possible, call 0457 666 469 or visit www.topairductcleaning.com.au.
A clean bathroom fan is a small maintenance job with a meaningful payoff: less lingering steam, a fresher room and an earlier warning when your ventilation system needs more than a quick wipe-down.
